How to Break In New Shoes. The internet is jam-packed with advice on how to break in new shoes. Some advice is sound, while other ideas are not only silly; they are likely to ruin your new shoes. Here is our assessment of the most popular advice out there ordered from least favorite to best based on cost, ease, and risk to the shoe.
Note: It’s important to note that advice for stretching shoes cannot possibly be a one-method-works-for- all mentality. Shoes are made from different materials that respond differently to stretching methods. They are also manufactured differently, so a particular stretching method may be fine for one pair of shoes, while the stitching of another cannot handle the stress. If you choose not to use a professional, you always run the risk of ruining your shoes.
#10—Wearing Wet Socks
What you need:
- Pair of wet socks
- Shoes
- Wet a pair of socks and put them on.
- Put on the shoes and walk around until they start to give.
Benefits: easy, free (assuming you have things on hand).
Drawbacks: Well, it goes without saying that the first drawback is discomfort. Not only are you wearing shoes that pinch your feet, but the feeling of wet socks against your skin, while you are doing it is not something that I am willing to do for any length of time. Additionally, this method seems to have a meager success rate. The greatest drawback of this method is that many shoe materials will be ruined if they become wet, such as suede and leather.
Bottom Line: There are plenty of other methods to try. This one doesn’t seem worth the discomfort or risk to the shoe.
#9– Wet Socks
What you need:
- Wet socks
- Shoes
- Dip wet socks in water.
- Wring out excess water.
- Stuff into the shoe. Use as many as needed to stuff the shoe fully.
Benefits: easy, free (assuming you have things on hand).
Drawbacks: Extremely low success rate. Just as the wet sock method above, the fact is that many shoe materials will be ruined if they become wet, such as suede and leather.
Bottom Line: There are plenty of other methods to try. This one isn’t worth the risk to the shoe.
#8–Wet Newspaper
What you need:
- Wet newspaper
- Shoes
- Dip wet newspaper in water.
- Wring out excess water.
- Stuff into the shoe. Use as much as needed to stuff the shoe fully.
Benefits: easy, free (assuming you have things on hand).
Drawbacks: Cousin to the wet sock trick at #9, this method also has an extremely low success rate with the same risk to the shoe. The additional drawback is that wet newspaper bleeds and can stain the shoes.
Bottom Line: There are plenty of other methods to try. This one isn’t worth the risk to the shoe.
# 7–Peeled Potato
What you need:
- Potato slightly larger than your foot
- Shoes
- Peel the potato
- Slip it into the shoe
- Leave it overnight until the shoe fabric gives.
Benefits: easy, moderate to low success rate, free (assuming you have things on hand).
Drawbacks: Along with the wet sock method, this is my least favorite method for stretching a shoe. First, depending on the shoe lining, the starchy liquid of a potato could potentially ruin the lining and inside of the shoe. Also, like the ice method, the shoe is stretching arbitrarily. And it seems difficult to find a potato that can stretch a shoe to a predetermined size like a shoe stretcher. Because potatoes are thickest in the middle, it is more difficult to stretch large shoe areas. Finally, nobody mentions the smell. Potatoes have an odor. You now will need another DIY method to remove the smell.
Bottom Line: If you have a pair of shoes that need to be widened in one particular spot and you can find a potato half a size wider than your foot, AND you are not concerned about the inside of the shoe, then this method is for you.
#6: Ice
What you need:
- Gallon size Ziploc freezer bags
- Water
- Freezer
- Shoes
- Fill two Ziploc freezer bags about one-quarter full of water.
- Seal the bag securely. Make sure they are completely sealed and free from leaks by turning in upside down.
- Place the bags inside of the shoes. Push the bag all the way to the tip of the shoe. The inside of the shoe should be filled with water. If there is not enough water, add more to the bag.
- Place the shoes inside an additional freezer bag to keep out moisture.
- Place in the freezer overnight.
- Take them out of the freezer and allow the ice to slightly melt so it can be removed from the shoe easily.
Benefits: easy, moderate to high success rate, free (assuming you have things on hand).
Drawbacks: Just like the heat method, plenty can go wrong with this ice stretching method. The biggest issue with this method is that you cannot measure exactly how much the water will expand. It can stretch the shoes so that they are distorted or even stretch them enough to ruin them. Several people who have tried this method have had the bag rip and ended up with water spots on their shoes. Some material is damaged or discolored when frozen. Natural materials, such as leather should not be frozen and thawed.
Bottom Line: If you have cheap shoes and are up for the risk—go for it.
#5–Heavy Socks and Heat
What you need:
- Thick woolen socks
- Hairdryer with a nozzle
- Shoes
- Put the thick woolen socks on your bare feet.
- Blast the inside of your new shoe with a hairdryer for 20 seconds to heat up the material.
- Put the shoes on over the woolen socks while they are still warm.
- Walk around for a few minutes.
- Repeat at least twice.
Benefits: easy, high success rate, free (assuming you have things on hand).
Drawbacks: Depending on how the footwear is manufactured, heat can damage shoes in various ways, which is why most brand-name sneaker companies warn against using any type of heat, including the clothes dryer, to dry their footwear. Heat can cause the adhesive used in manufacturing the shoe to reactivate, causing it to fall apart. Heat can also warp footwear. Another example of a shoe that cannot handle the heat is Crocs. The company advises against exposing your Crocs shoes to extreme heat or intense sunlight for extended periods. High temperatures can cause the Croslite material from which they are made, to cause them to warp or shrink.
Bottom Line: You need to weigh the risk of ruing the shoe against the money you are saving by not using a shoe stretcher or professional.
#4–Wear Them Around the House
What you need:
- Thick woolen socks
- Shoes
Simply wear a few pairs of thick socks while you wear your shoes around the house.
Benefits: no risk to shoe, easy, moderate to high success rate, free (assuming you have things on hand). Also, when you wear the shoes to stretch them, they will be stretching to conform with your unique foot shape rather than an arbitrary object. This method works for many materials.
Drawbacks: Discomfort. With this method, you will be directly suffering the consequences of a shoe that is too tight.
Bottom Line: If you are worried about ruining the shoe but do not want to spring for the professional, this is a safe alternative.
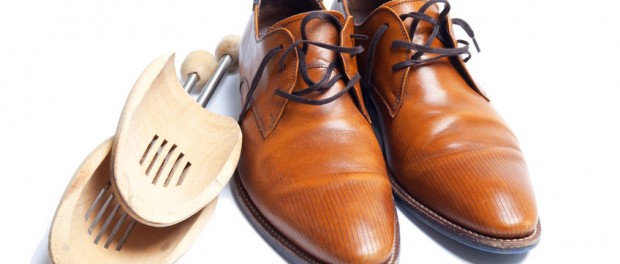
#3–Shoe Stretchers
What you need:
- Shoe stretcher
- Shoes
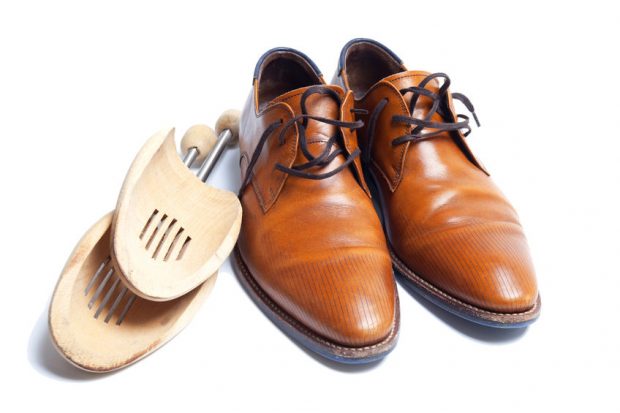
- Expand the shoe stretcher slightly and insert it into the shoe.
- Turn the knob enough to begin stretching the shoe in the area that you wish.
- Leave overnight. If you want the shoes stretched further, replace and leave for another night.
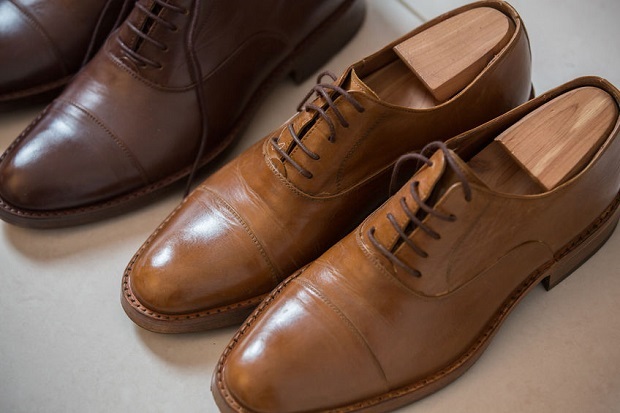
Benefits: Can be reused, performs double duty, extremely high success rate, very little risk to the shoe. Even if you just want to widen your shoes this time, make sure to spend a little bit extra to purchase a shoe stretcher that stretches both length and width for future purchases.
Drawbacks: They don’t work well on vinyl material. Without using a shoe stretch spray, the stress could cause damage to some materials depending on the desired stretch.
Bottom Line: Perfect for expensive shoes, but invest in the spray for optimal results.
#2–Shoe Stretch Spray
What you need:
- Socks you will generally wear with the shoe
- Leather, suede or natural skin shoes
- Shoe stretch spray
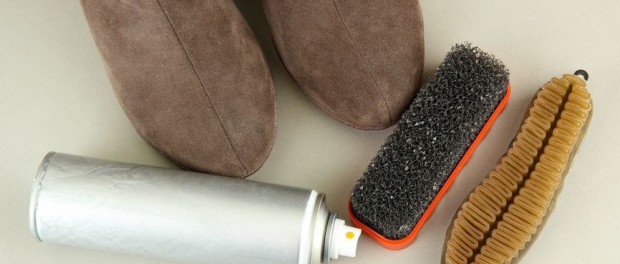
Using a commercial shoe stretch spray is effective for leather, suede, and natural skin shoes. Follow the manufacturer’s instructions as each product may differ slightly, but the general method is to spray the shoes to relax and soften the fibers. You then wear the shoes until they dry molded to the shape of your foot. It is important that you wear the stockings that you will be wearing with the shoe. If you normally wear a thin nylon trouser stocking but stretch them while wearing heavy woolen socks, they will likely be too big.
Many shoe stretcher kits come with shoe stretchers so that you do not have to walk around in the shoe until it dries.
This method is so effective that The Joffrey Ballet School’s Book of Ballet-Fit, recommends that dancers who choose leather ballet slippers should buy their shoes tight, spray them with shoe stretch spray, and then walk around the house in demi-pointe until the shoes dry. This method will mold them perfectly to your feet.
#1—The Professional Cobbler
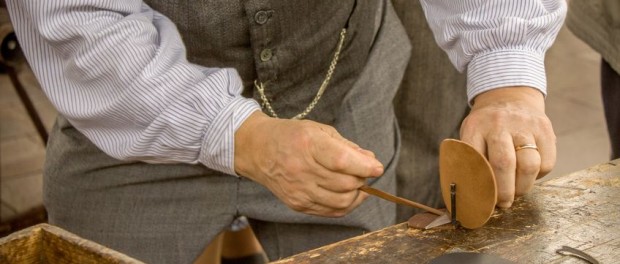
If you have invested in a very expensive pair of shoes, it’s best to have them professionally stretched. Not all methods work for all shoes, and any time you attempt to stretch material, you run the risk of damaging the shoe. A professional will know exactly how the shoe was constructed, with what materials, and how to stretch them properly (if at all) without any risk to the shoe.
