How to Clean a Dryer Vent
To decrease the risk of a fire in your home, it is necessary to clean a dryer vent properly. According to the US Fire Administration, over 2,900 clothes dryer fires are reported resulting in an average of 5 deaths every year. The administration cites failure to clean the dryer as the leading cause of clothes dryer fires. [1]
Jump Ahead:
Why You Need to Clean Your Dryer Vent
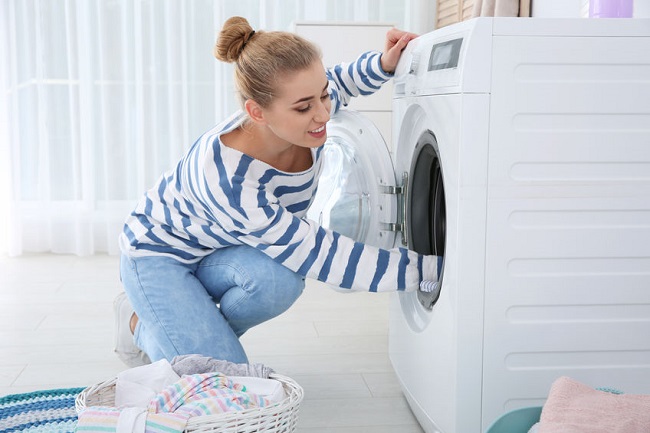
Your dryer works by bombarding your clothes with hot, dry air while venting moist air away from your clothes. During this process, your clothes release fibers, or lint, into the system. Dryers are equipped with a lint trap to filter out these particles, but some make it past the trap into your venting system. They can clog the tubing and the vent hood that connects your dryer to the outside world. When clogging occurs, it significantly increases the odds of a home fire. [2]
Signs of a Clogged Vent

Luckily, if you watch for particular signs, you’ll know when your dryer vent needs to be cleaned. A clogged vent will reduce the efficiency of your dryer, leading to noticeably increased drying time. If your clothes, especially heavy towels, are hot and wet when they should be finished drying, it’s a sure sign your vent is clogged. You may also notice that the outside of your dryer is hot to the touch or find water on the floor. Finally, the lint screen may be free from lint. If the dryer is not circulating air properly, it will not remove lint from clothing. You may find lint on your clothes or around the dryer door instead of in the lint trap. Even if you don’t see any signs of a clogged vent, you should clean out the system once a year to reduce fire risk. [3]
Even if you don’t see any signs of a clogged vent, you should clean lint out of the vent pipe every three months and have your dryer cleaned regularly by a professional. [4]
Cleaning Your Dryer Vent
Clearing the lint trap after every load is the first step to cleaning your dryer vent. According to the folks at Whirlpool, daily lint trap cleaning can help keep your dryer working optimally and your laundry routine more time-efficient. [5]
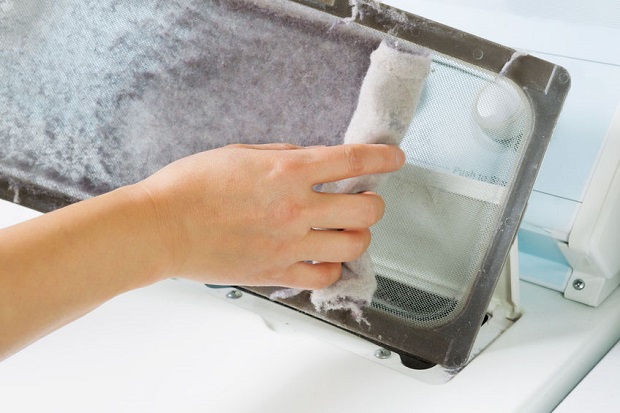
Remove the trap and bang it over a trashcan to remove all the trapped particles. Then, remove any lint you can see in the dryer under where the trap goes before replacing the trap. After every load, performing these two simple steps will dramatically reduce the amount of lint trapped in your venting system. [6]
To clean the rest of your system, Whirlpool suggests unplugging the power cord on an electric model or closing the shut-off valve in the gas supply line, then disconnecting and capping the supply line pipe on a gas model. [7]
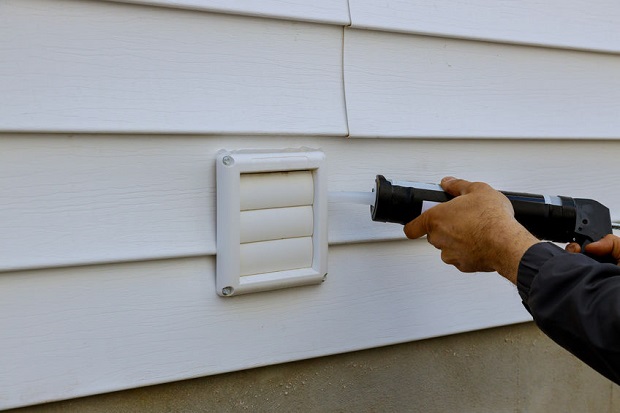
Pull your dryer out from the wall and disconnect the vent tubing from the dryer and the exterior vent hood. Clean any trapped lint out of the tubing. Finally, remove any lint from the exterior vent hood using a vacuum or a blower. You can buy specialized vent cleaning kits that attach to your vacuum at any major home improvement store. [8]
Ensure that the vent’s opening on the outside of the home is clear of debris, such as bird or rodent nests.
Resources
- [1] US Fire Administration “Clothe dryer first safety outreach materials.“
- [2] Maytag – Product Information – “How does dryer dry clothing?”
- [3] Maytag – Product Information – “How to tell if your Maytag dryer vent may be blocked or restricted.”
- [4] US Fire Administration – “Clothe dryer first safety outreach materials.”
- [5] [6] Whirlpool – “How to Clean a Dryer Lint Trap.”
- [7] [8] Whirlpool – Appliance IQ – “How to Clean Dryers Inside and Out.”


